C4D how to make 3d model of human body
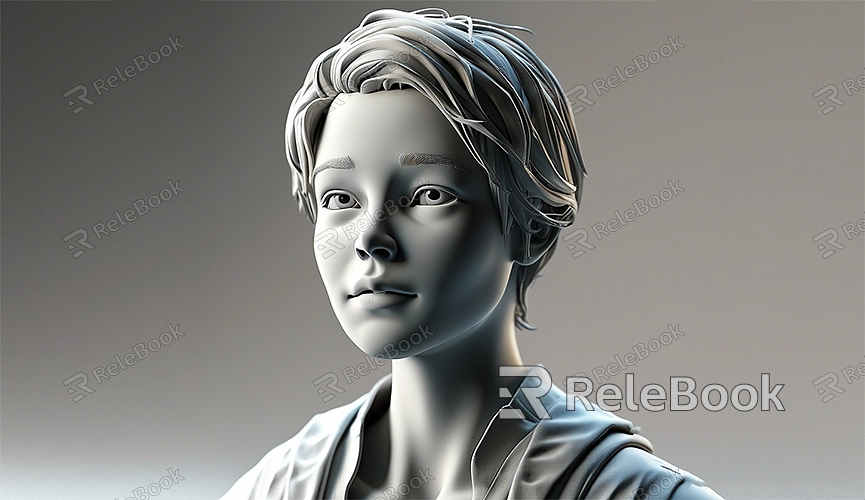
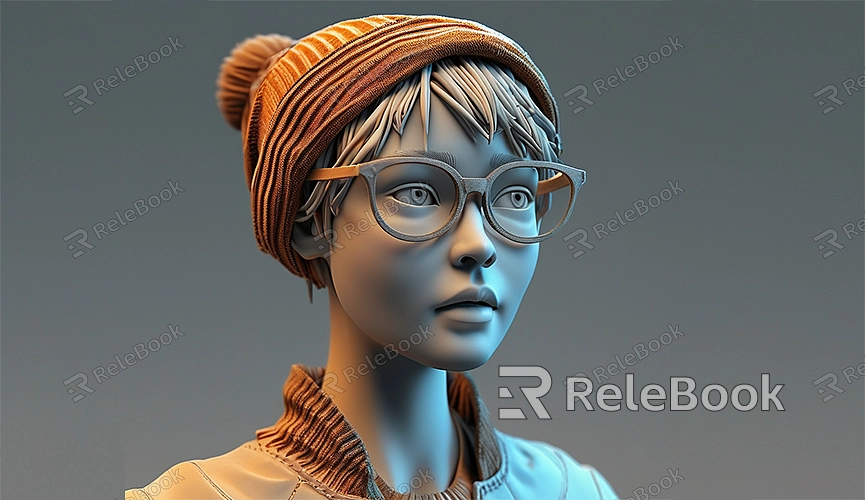
Creating a 3D model of the human body is an essential skill for many 3D artists and designers, especially in fields like game development, animation, and virtual reality. This article will guide you through the process of creating a realistic human body 3D model in Cinema 4D, with clear steps suitable for both beginners and experienced users.
Preparation
First, you need to gather some reference materials. You can find anatomical diagrams, sketches, or images of 3D models of the human body online. These references will help you better understand the proportions and structure of the human body, providing a solid foundation for your modeling work.
Creating the Base Model
1. Launch Cinema 4D: Open the software and create a new project.
2. Create Basic Geometry: From the Objects menu, select Cube to create a basic geometric shape. You can scale this cube into a rectangular prism to serve as the base for the torso.
3. Subdivide Geometry: Increase the polygon count of the cube to better capture the details of the human body using the Subdivision Surface feature. Select Subdivision Surface from the Objects menu and drag the cube under the subdivision surface object.
4. Adjust the Shape: Use the Select and Move tools to adjust the shape of the cube to better match human proportions. For example, taper the upper part to form the chest and slightly expand the lower part to form the abdomen.
Adding Limbs and Head
1. Create Limbs: Use cubes to create the arms and legs. You can duplicate and scale the torso cube to make the limbs. Then, connect these limbs to the torso, adjusting their proportions and positions.
2. Add the Head: Use a sphere for the head. Position the sphere at the top of the torso and adjust its size to match the body's proportions.
3. Connect Parts: Use the Bridge tool or manually adjust the vertices to connect the parts, creating a cohesive model.
Refining the Model
1. Detail the Face: Use sculpting tools to refine facial features such as the eyes, nose, and mouth. Refer to anatomical diagrams to ensure accuracy.
2. Add Muscles and Details: Use the Sculpt or Deform tools to add muscles and other details, making the model more realistic. Refer to anatomical diagrams to ensure the muscles' shapes and positions are correct.
3. Adjust Proportions: Finally, check the overall proportions of the model to ensure that each part aligns with natural human proportions. Use the Scale tool to make overall adjustments.
Coloring and Texturing
1. Apply Materials: In the Materials panel, create new materials and apply them to different parts of the model. Use skin materials to simulate realistic skin textures.
2. Add Textures: Add detailed textures to the model, such as skin textures and clothing textures. You can download high-quality textures from the internet or create your own.
3. Lighting and Rendering: Set up the scene's lighting to make the model look more realistic. Adjust the render settings and perform the final render to generate high-quality 3D images.
By following these steps, you can create a realistic human body 3D model in Cinema 4D. This process requires patience and skill, but with experience, you will find it increasingly easier to create 3D models.
If you need high-quality 3D textures, HDRIs, or downloadable 3D models for your projects, you can find them on Relebook. Importing these textures and models into your project can save you time and enhance the quality of your work.
